
The work on the reverb furnace continues.............
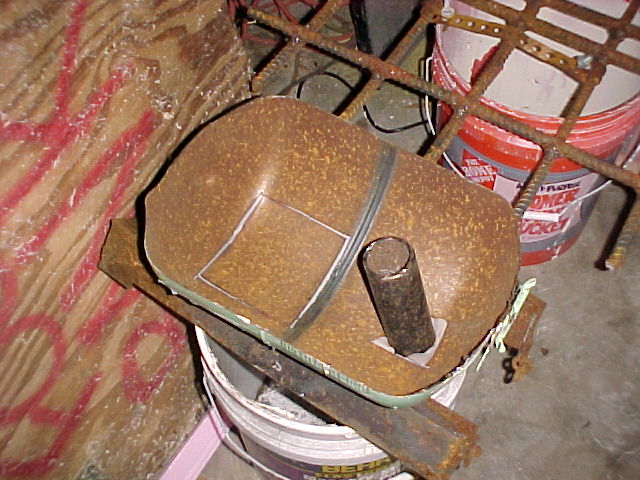
At the front of the furnace sheel I welded a piece of angle iron about 10 inches long into the V cutout I made in the shell. Again the welder wanted to eat the thin steel...or maybe its the operator.........this will become the furnace spout.
I guess this is just another view!! Look...more lost foam patterns on the table...
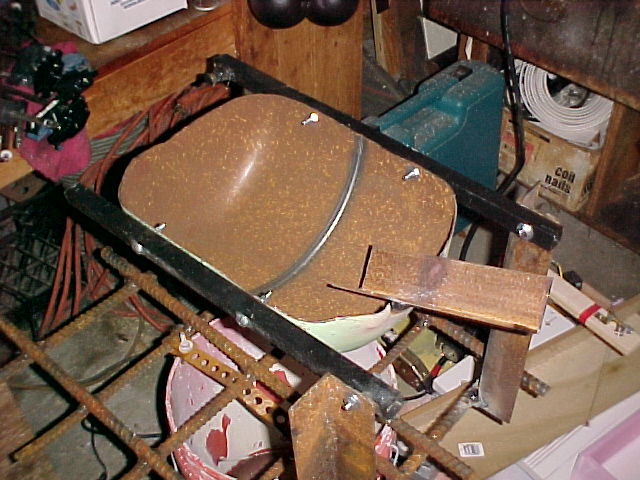
I saved the piece of tank skin steel that I cut for the top opening and now I taped it back in place so I can put the basin mold (also known as a can...) into the top as seen below.....
Into the bottom of the furnace shell I placed another can to create a basin in which the molten aluminum will collect, and the spout angle iron we put in earlier is carved to fit into the bottom of the basin.
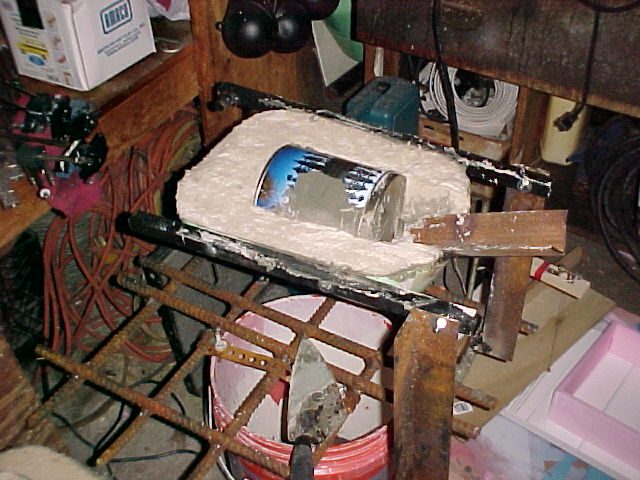
This is the top shell with another can in place. This can creates a opening through which I can feed scrap in from the top. Also you can see that the piece of piece we installed ealier is now captured in the refractory mix. This is a crappy refractory I made of ground bentonite kitty litter with some portland cement ( I know but it was handy) and some perlite with some extra sand added for good measure...I mixed it in the wheel barrow until it was plasticky ( is that a word?) and then I troweled it into the furnace shells. I tried to keep it level with the edges of the shell so the two shell parts would seal up fairly well.

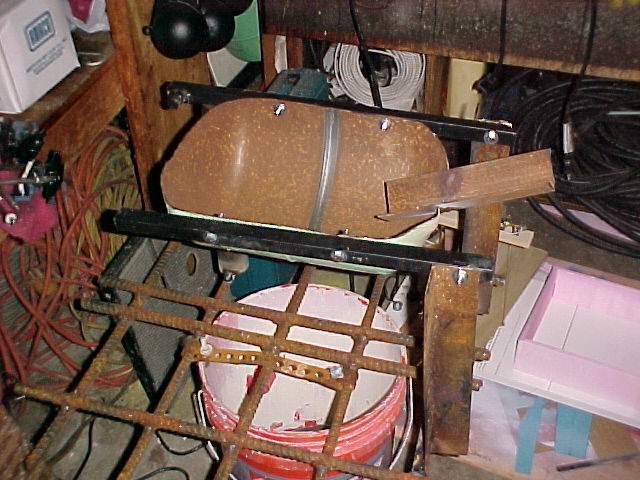
I mangle welded a big old hinge I had in the shop to make a hingable rear to the reverb. This way I can open the furnace to remove dross and bits of junk. In this shot you can see the pipe stand up I put to hold the back of the furnace level.
Another view of the rear hinge and the standup point...I added a piece of bent steel to the post so it wouldn't punch into the furnace skin.
Here is the reverb furnace set up after the first test melting session. In this setup I only used the propane and blower part of my rig. I noticed that the refractory is poor and starting to fall apart and alot of heat is being lost out through the sides. But we melted a bunch of cans and poured some ingots even if they aren't pretty......
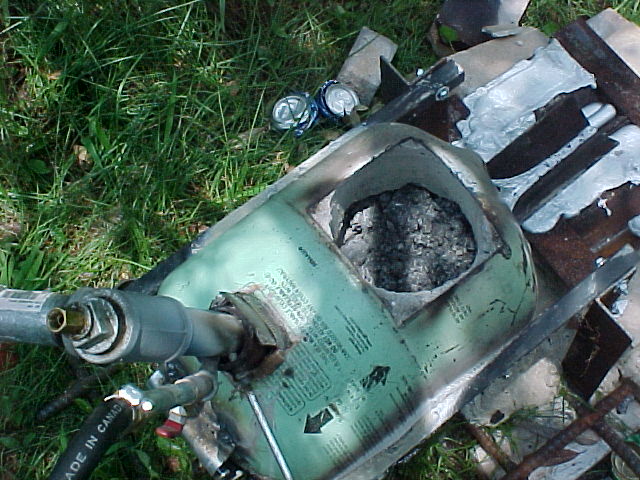
A Look down into the feeding hole on top of the reverb, you can see the mass of dross left after a ingot pouring and there was a lot of dross....in fact it seemed the entire basin was full of dross after we poured out the lingot metal.
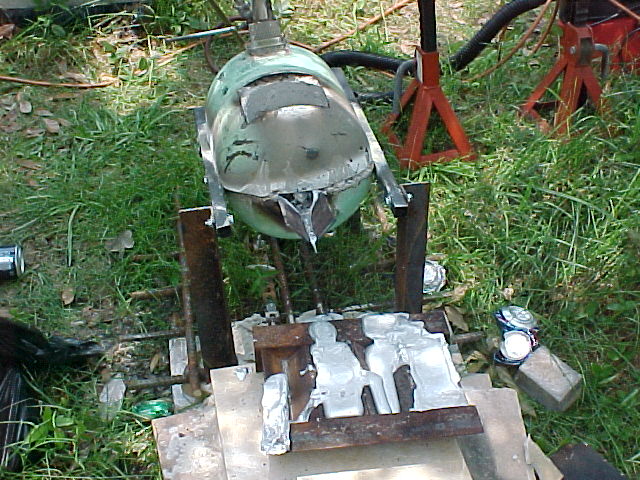
The front view of the reverb after the first aluminum melt and ingot pouring session. I had some problems getting the ingot mold in a good place to pour and the spout really doesn't give enough room, it should be longer maybe, anyways I sort of spilled all over the ingot mold and we kind of made some ingots....this project will need some refining also ....as time allows!!

